The next step for me getting started with Proxmox was to add a bit more storage. The bundled 256GB SSDs are great for the basics, but I’m mainly concerned with the longevity of them (considering they are already well used!) and generally the fact that it’s not really that much space.
Amazon to the rescue with some 1TB NVMe drives on sale for £59 which is an absolute bargain. I had to go with NVMe drives as it was the only spare slot for storage available in the miniature nodes I picked up (covered in my last article). They are not high performance drives but they will suffice for my use cases.
Setting them up in Proxmox isn’t just plug and play - we need to format the disks so that they will work.
There seem to be a few options. It seems to be best to use a LVM-Thin type, as this allows for better use of your disk space (as it will allocate space that won’t be ‘used’ unless your VMs use it, and it also supports online snapshots).
So I setup my NVMe drives as LVM-Thin devices. It took a very long time to do that for some reason (potentially because of the lower performance of the QLC NAND NVMe drives I got) but in the end I have 3 nodes with NVMe drives setup with LVM-Thin type.
From some research, I found that it was important to set certain settings when using thin drives.
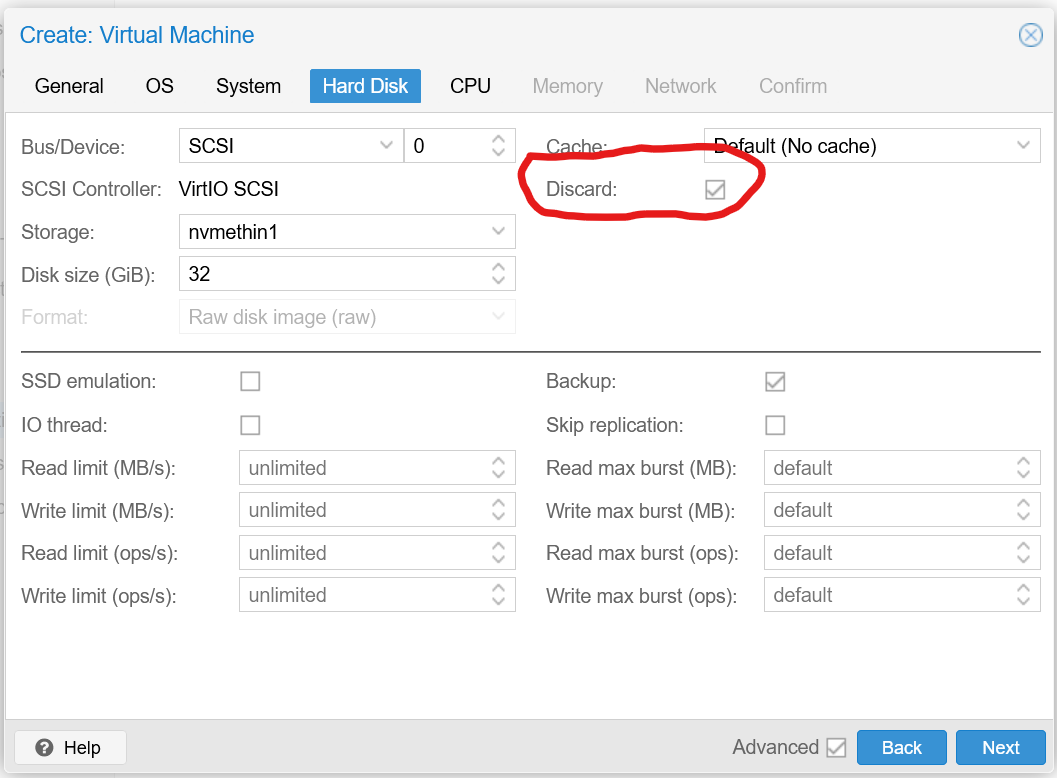
The most important one, is to set the Discard setting. This allows VMs to ‘release’ their unused disk space once they’ve used it.

Setting the discard setting
Research sources
- Reddit thread on LVM vs LVM thin
- Why is the usage of my LVM thin drives going up? (There is also some interesting monitoring ideas and steps followed, that I want to look at as well in a future article!)